Installing a mini split air conditioning system can be an excellent way to cool specific areas efficiently while saving energy. The process involves several steps that require careful attention to detail, but with the right guidance, it is achievable for those with basic DIY skills. First, selecting the appropriate unit size is crucial; it should match the room’s square footage and cooling needs to ensure optimal performance without wasting energy. Once you have chosen the correct model, gather all necessary tools and materials such as a drill, level, screwdriver, vacuum pump, refrigerant line set, electrical wiring components, and mounting brackets.
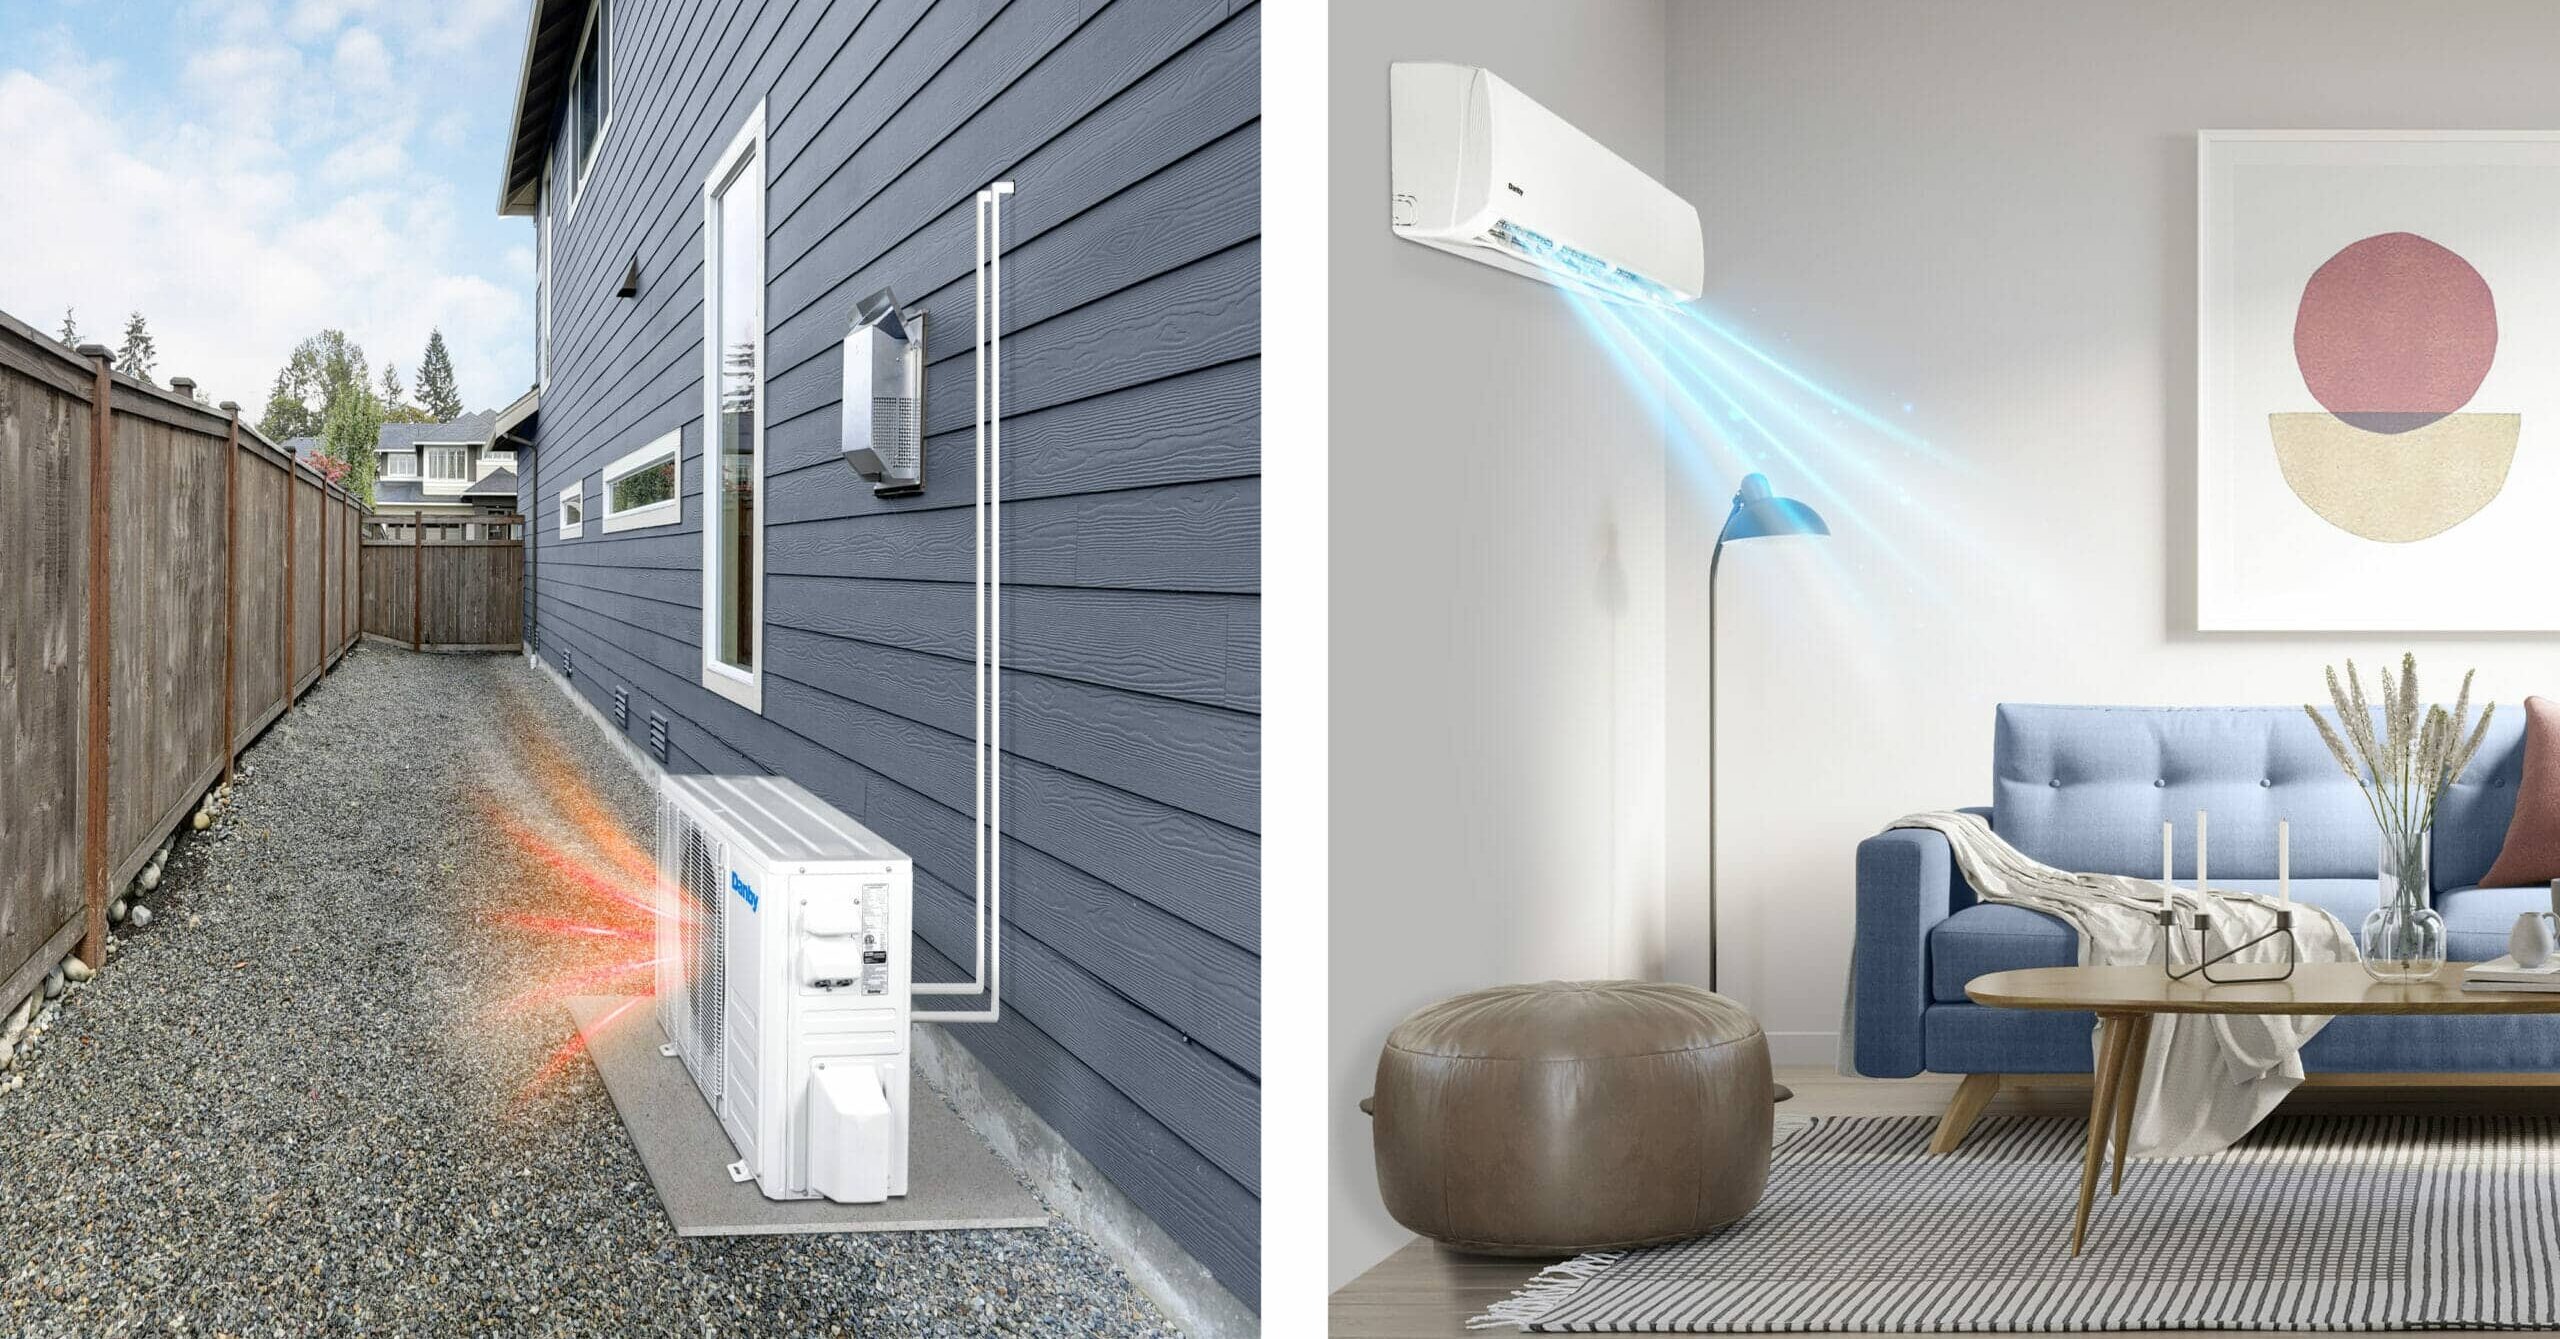
Begin by deciding on the location of both indoor and outdoor units. The indoor unit should be installed high on a wall where airflow won’t be obstructed by furniture or curtains. It must also be near an electrical outlet and have easy access for future maintenance. The outdoor compressor unit requires placement on a flat surface with adequate ventilation and clearance from obstacles like plants or walls to prevent overheating.
Next comes mounting the indoor unit bracket securely to the wall using screws and anchors if needed. Use a level during installation to ensure proper alignment because this affects drainage efficiency later in mini split ac the process. After securing the bracket, drill a hole through the wall approximately three inches in diameter at a slight downward angle toward outside for proper condensate drainage.
The most technical part involves connecting refrigerant lines between indoor and outdoor units. Carefully measure and cut copper tubing according to manufacturer specifications before flaring each end for secure connections. Insulate these lines thoroughly after joining them with flare nuts or compression fittings to prevent condensation issues inside your home.
Electrical wiring must follow local codes strictly; typically this means running power from your breaker box directly to an external disconnect switch near your condenser unit then onward into both units via conduit or cable raceways as recommended by instructions provided by manufacturers.
Once all mechanical connections are complete including drain piping routed outdoors safely away from foundations or walkways test vacuuming out air from refrigerant lines using a vacuum pump until reaching required micron levels ensuring no leaks exist within sealed system components which could compromise performance over time.
Finally recharge system with specified amount of refrigerant if not pre-charged then turn on power supply checking operational status through remote control settings verifying cooling function works smoothly without unusual noises or error codes appearing on display panels indicating successful installation ready for comfortable use throughout hot seasons ahead.